There’s something magical about making your own jams and jellies at home. The rich, fruity aroma filling the kitchen, the vibrant colors, and the satisfaction of spreading your homemade creation on toast make the effort truly worthwhile. Whether you want to preserve the flavors of summer or create delicious homemade gifts, learning how to make jams and jellies is an essential kitchen skill.
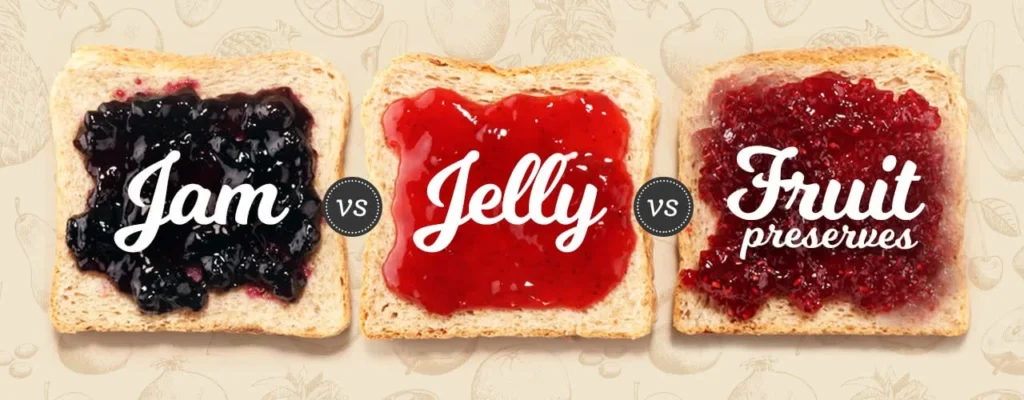
The Difference Between Jams and Jellies
Before diving into the process, it’s important to understand the difference between jam and jelly:
- Jam is made with crushed fruit, giving it a slightly chunky texture.
- Jelly is made from fruit juice, resulting in a smooth and clear consistency.
Both are made using fruit, sugar, and pectin (a natural thickening agent), but they differ in texture and preparation.

Essential Ingredients for Jams and Jellies
To make a basic jam or jelly, you’ll need:
- Fruit – Fresh or frozen fruit works well. Berries, peaches, apples, and citrus fruits are great options.
- Sugar – This acts as both a sweetener and a preservative.
- Pectin – Naturally found in some fruits (like apples and citrus), pectin helps thicken the mixture. Some recipes use store-bought pectin for better consistency.
- Lemon Juice – Helps enhance flavor and stabilize the gel.
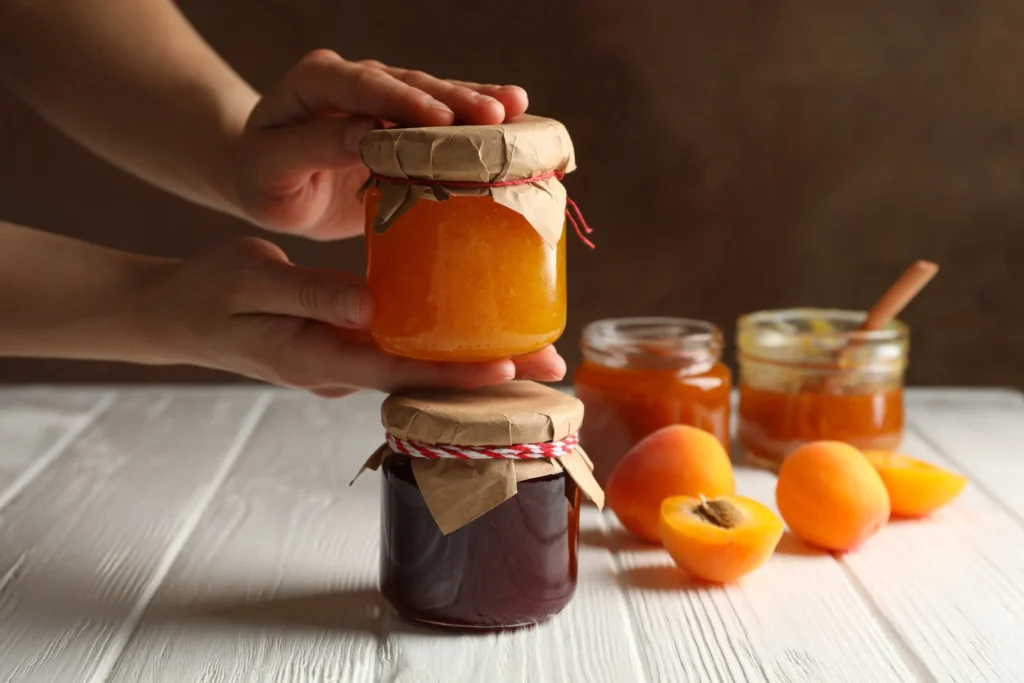
Choosing the Right Fruit
Some fruits, like apples, blackberries, and citrus, contain high levels of pectin naturally. Others, such as strawberries and peaches, require additional pectin for proper thickening.
Step-by-Step Guide to Making Homemade Jam
1. Prepare the Fruit
- Wash and chop the fruit into small pieces. If making jelly, extract the juice by simmering the fruit and straining it through a cheesecloth.
- For jam, mash the fruit slightly to release juices.
2. Cook the Mixture
- In a large pot, combine the fruit, sugar, and lemon juice. Stir continuously over medium heat until the sugar dissolves.
- Bring to a boil, stirring frequently to prevent burning. If using pectin, follow the package instructions for when to add it.
3. Test for Doneness
To check if your jam or jelly is ready:
- The Spoon Test – Dip a cold spoon into the mixture. If it thickens as it cools and coats the spoon, it’s ready.
- The Wrinkle Test – Place a small amount on a chilled plate. If it wrinkles when pushed with your finger, it’s done.
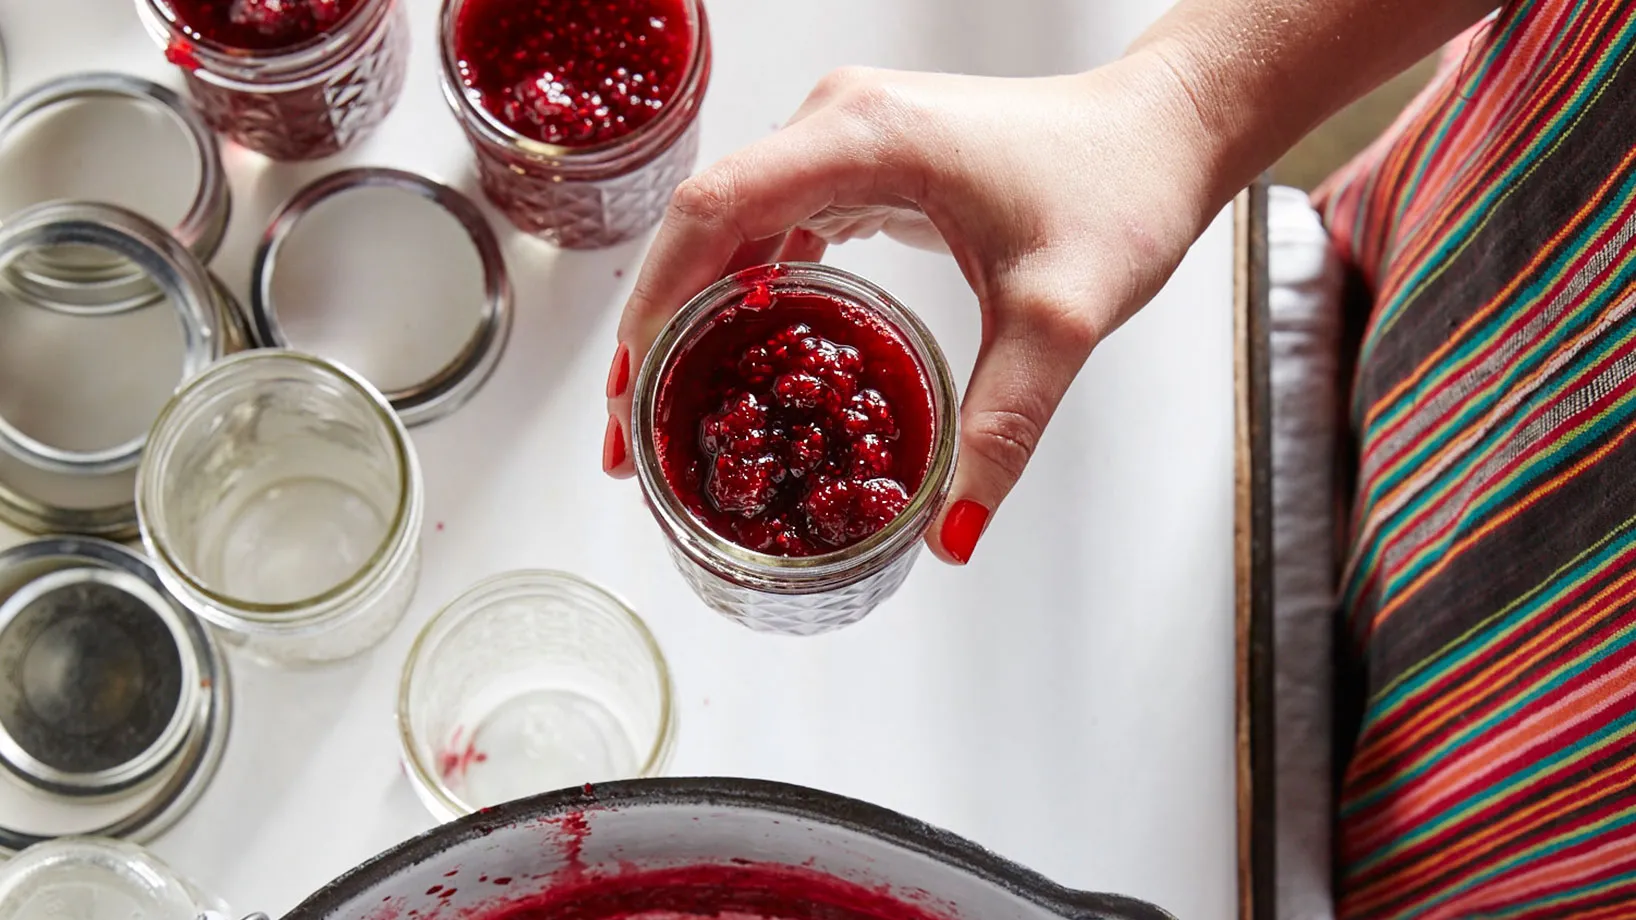
4. Pour into Sterilized Jars
- Sterilize glass jars by boiling them in hot water.
- Pour the hot jam or jelly into the jars, leaving about ¼ inch of space at the top.
- Wipe the rims, seal with lids, and process in a boiling water bath for 5–10 minutes to ensure preservation.
Tips for Perfect Jams and Jellies
- Use ripe (but not overripe) fruit for the best flavor and natural pectin content.
- Avoid stirring too much once the mixture boils, as this can break down the gel structure.
- Store in a cool, dark place for up to a year. Once opened, keep refrigerated.
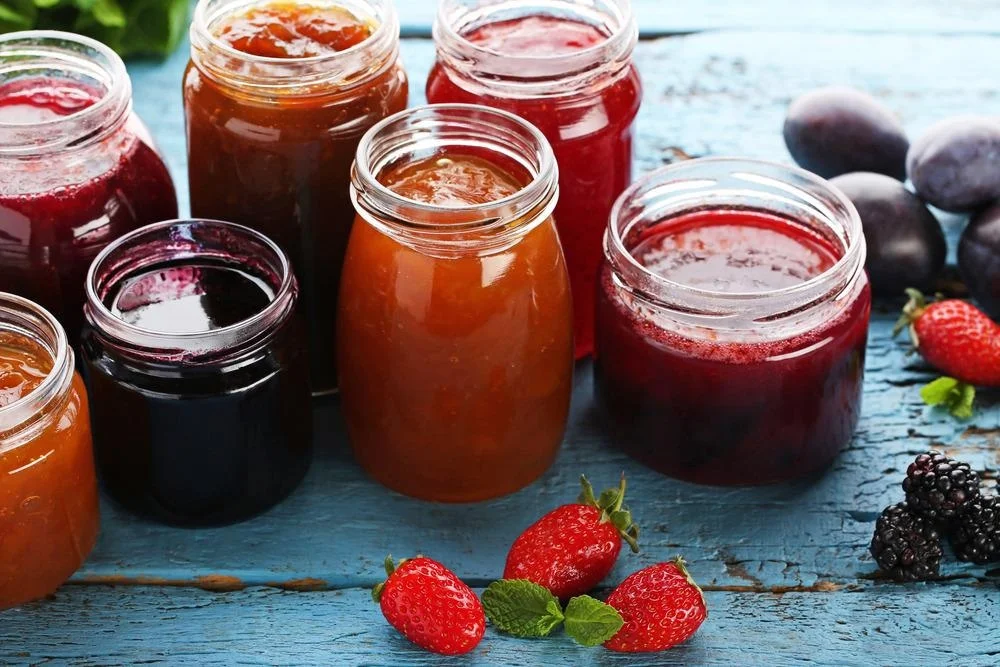
Creative Variations
- Berry Medley Jam – Mix strawberries, blueberries, and raspberries for a vibrant flavor.
- Spiced Apple Jelly – Add cinnamon and nutmeg for a cozy twist.
- Citrus Marmalade – A blend of oranges and lemons for a tangy spread.